VI.15.1 Pompeii. House of the
Vettii or Casa dei Vettii or Domus Vettiorum.
Excavated 1894-1895. Linked to VI.15.27.
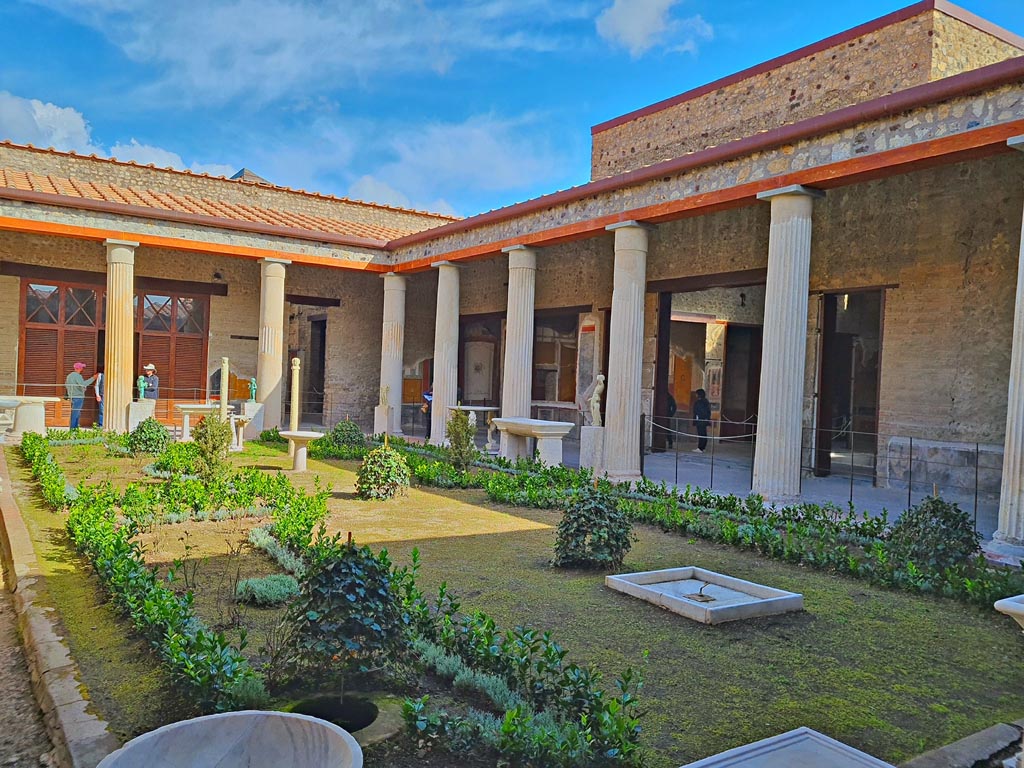
Peristyle
Part 4 Part 1 Part 2 Part 3 VI.15.1 Plan
In Notizie degli Scavi, prior to January 1897, this house was described as being in Insula 12 of Reg. VI, afterwards it was changed to Insula 15 of Reg. VI.

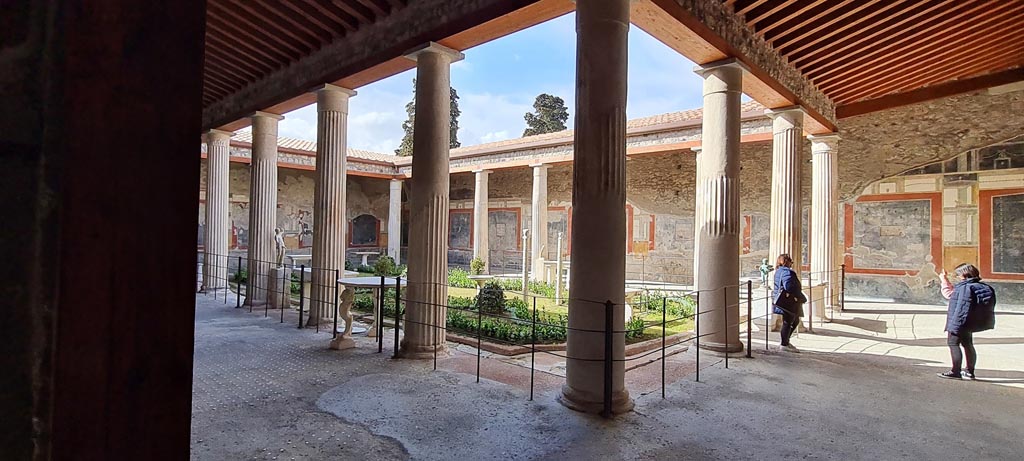
VI.15.1 Pompeii. January 2023. Looking south across peristyle, from north portico. Photo courtesy of Miriam Colomer.

VI.15.1 Pompeii. Possibly early 1900s? Looking south from north portico, across peristyle garden. Photo courtesy of Rick Bauer.

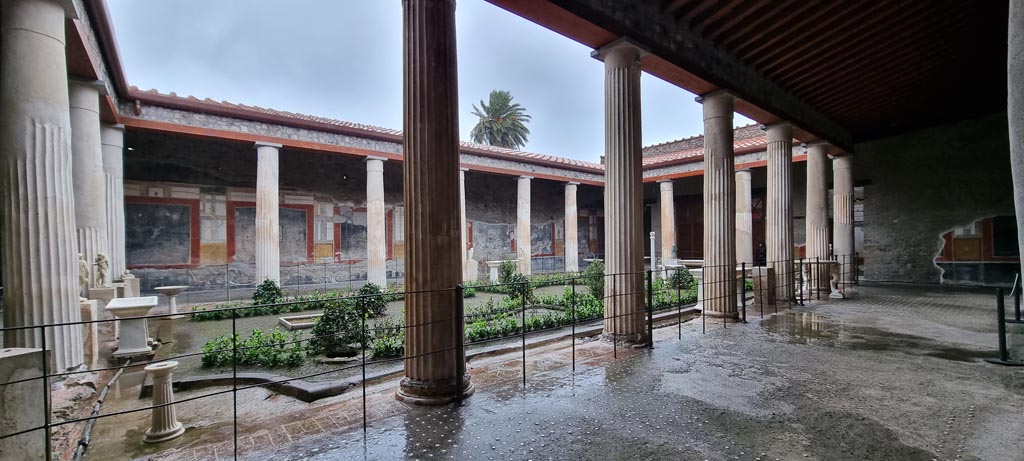
VI.15.1 Pompeii. Looking south across peristyle.
Photograph No. 3010, by Giorgio Sommer, (1834-1914). Public domain, via Wikimedia Commons

VI.15.1 Pompeii. Possibly early 1900s? Looking south from north portico, across peristyle garden. Photo courtesy of Rick Bauer.

VI.15.1 Pompeii.
Old postcard c.1900.
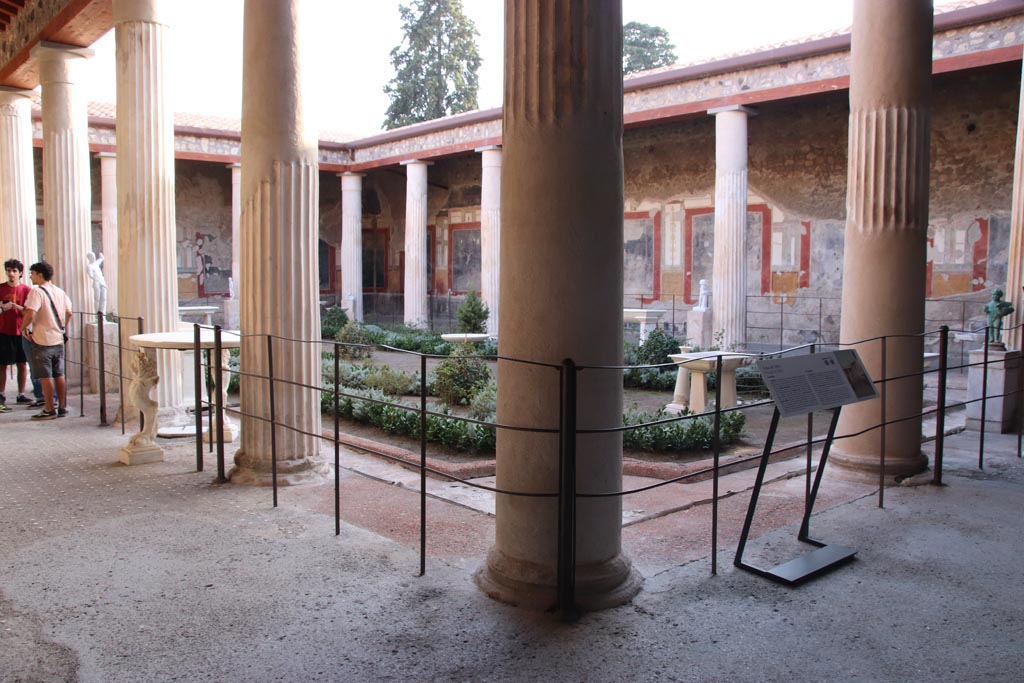
Peristyle garden looking towards south-east corner. The two marble herms can be seen in the foreground.

VI.15.1 Pompeii. March 2023. Looking south across peristyle garden towards the two marble herms. Photo courtesy of Johannes Eber.

VI.15.1 Pompeii.
Two marble herms, the pillars decorated with twining ivy. On top of each is a double bust.
One represents Silenus and a bacchante (On the left). SAP 690.
The other is Dionysus and Ariadne (On the right). SAP 691.
Photographed at “A Day in Pompeii” exhibition at Melbourne Museum. September 2009.

VI.15.1 Pompeii. Double bust of Silenus and a bacchante at the top of a herm. SAP 690.
Photographed at “A Day in Pompeii” exhibition at Melbourne Museum. September 2009.

VI.15.1 Pompeii. October 2023.
Detail of bust of a bacchante at the top of a herm. Photo courtesy of Klaus Heese.

VI.15.1 Pompeii. Detail of bust of a bacchante at the top of a herm. SAP 690.
Photographed at “A Day in Pompeii” exhibition at Melbourne Museum. September 2009.

VI.15.1 Pompeii, 1968.
Double bust of Silenus and a bacchante at the top of a herm. Photo by Stanley A. Jashemski.
Source: The Wilhelmina and Stanley A. Jashemski archive in the University of Maryland Library, Special Collections (See collection page) and made available under the Creative Commons Attribution-Non-Commercial License v.4. See Licence and use details.
J68f0691

VI.15.1 Pompeii. Double bust of Dionysus and Ariadne at the top of a herm. SAP 691.
Photographed at “A Day in Pompeii” exhibition at Melbourne Museum. September 2009.

VI.15.1 Pompeii. Double bust of Dionysus and Ariadne at the top of a herm.
c.1900 glass slide of a Sommer photo no. 3009. The painted inventory number on the side of the bust is 678.
Photo courtesy of Alan Lindfield.

VI.15.1 Pompeii. Double bust of Dionysus and Ariadne at the top of a herm.
SAP inventory number painted on the side is 691.

VI.15.1 Pompeii. October 2023.
Detail of bust of Ariadne at the top of a herm. Photo courtesy of Klaus Heese.

VI.15.1 Pompeii, 1968. Bust of Ariadne at the top of the herm. Photo by Stanley A. Jashemski.
Source: The Wilhelmina and Stanley A. Jashemski archive in the University of Maryland Library, Special Collections (See collection page) and made available under the Creative Commons Attribution-Non-Commercial License v.4. See Licence and use details.
J68f0693

VI.15.1 Pompeii, 1968. Bust of Ariadne at the top of the herm. Photo by Stanley A. Jashemski.
Source: The Wilhelmina and Stanley A. Jashemski archive in the University of Maryland Library, Special Collections (See collection page) and made available under the Creative Commons Attribution-Non-Commercial License v.4. See Licence and use details.
J68f0692

VI.15.1 Pompeii, Mid 1890’s photograph by Esposito, no. 193. Bust of Ariadne at the top of the herm.
The painted inventory number on the side of the bust is 678. Photo courtesy of Rick Bauer.

VI.15.1 Pompeii. April 2023. Looking south-west from
north-east portico. Photo courtesy
of Giuseppe Ciaramella.

VI.15.1 Pompeii. October 2023. Looking south-west from
north-east portico. Photo courtesy
of Klaus Heese.
Looking towards west portico from north-east corner of peristyle. Photo courtesy of Giuseppe Ciaramella.
VI.15.1 Pompeii. June 2024.
Looking south-west across peristyle, from north-east
portico. Photo courtesy of Giuseppe
Ciaramella.
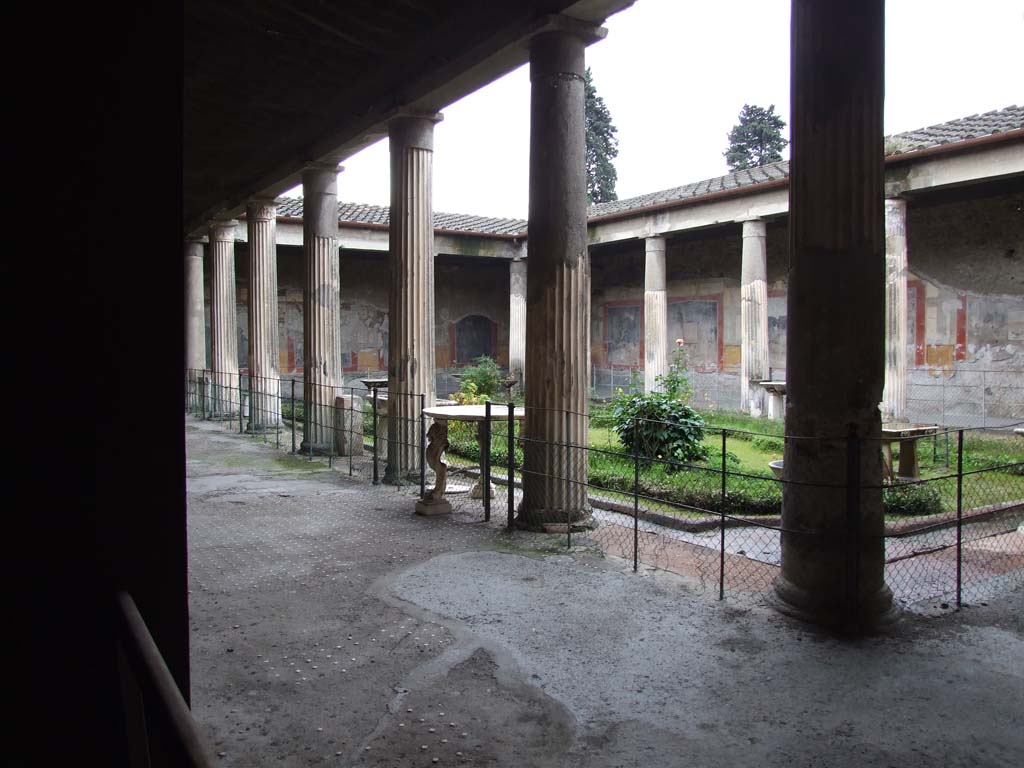
VI.15.1 Pompeii. December 2006. Looking south-west across peristyle, from exedra on north-east side.

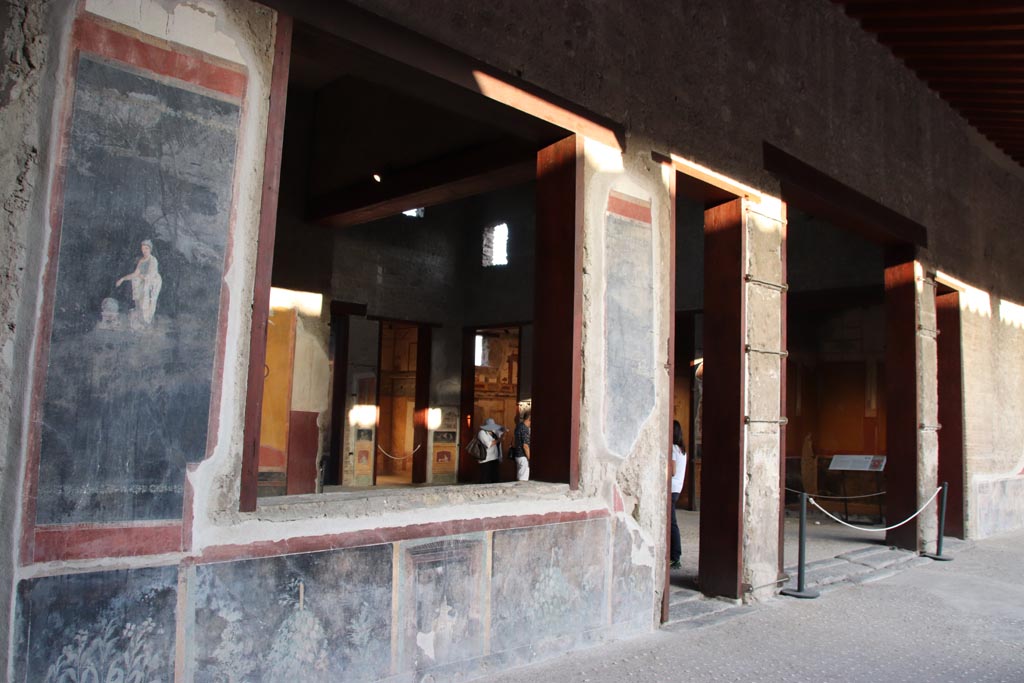
VI.15.1 Pompeii. October 2023. Looking south along east portico. Photo courtesy of Klaus Heese.
VI.15.1 Pompeii. October 2023.
Looking along east portico towards wall and window of north ala, on left, and entrance to atrium, on right. Photo courtesy of Klaus Heese.

VI.15.1 Pompeii. June 2024. Looking
south along east portico. Photo courtesy of Giuseppe Ciaramella.

VI.15.1 Pompeii. April 2023. Looking south along east
portico. Photo courtesy of Giuseppe
Ciaramella.

VI.15.1 Pompeii. April 2023.
Looking south-west across peristyle garden from north-east corner. Photo courtesy of Giuseppe Ciaramella.

VI.15.1 Pompeii. January 1977. Looking south-west across peristyle. Photo courtesy of David Hingston.

VI.15.1 Pompeii. June 1962. Looking south across peristyle garden from north-east corner.
Photo by Brian Philp: Pictorial Colour Slides, forwarded by Peter Woods
(P43.21 POMPEII Peristyle and garden House of the Vettii)
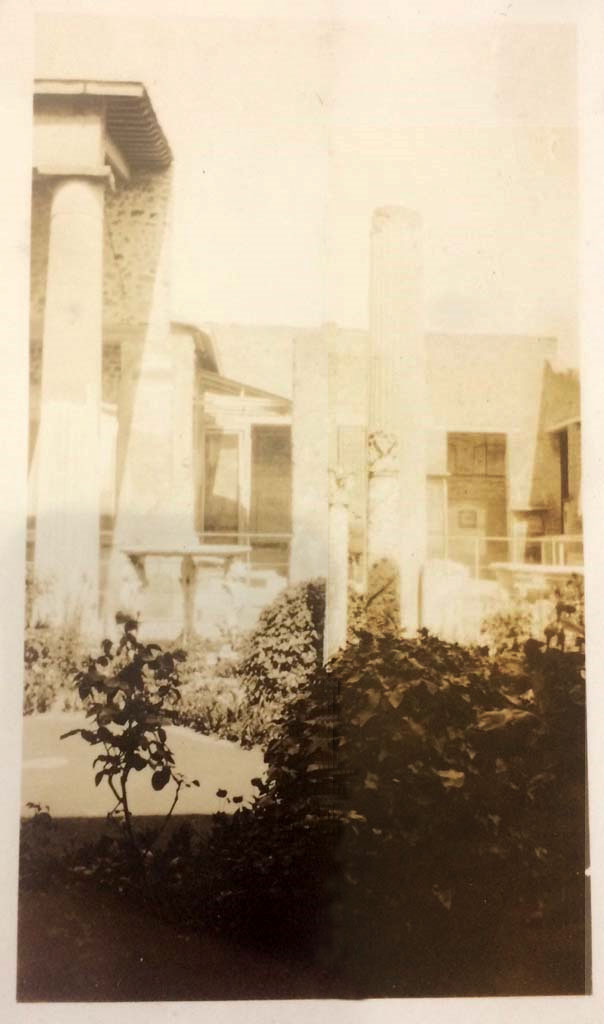
VI.15.1 Pompeii. 1933 photo. Looking towards south-west corner across peristyle garden. Photo courtesy of Rick Bauer.

VI.15.1 Pompeii. January 2023. Looking north-west across peristyle from south-east corner. Photo courtesy of Miriam Colomer.

VI.15.1 Pompeii. April 2023. Looking north-west from east
portico. Photo courtesy of Giuseppe
Ciaramella.

VI.15.1 Pompeii. 22nd July 1961. Looking north-west across peristyle, from east portico. Photo courtesy of Rick Bauer.

VI.15.1 Pompeii. November 1899. Peristyle garden, looking north-west from east portico. Photo courtesy of Rick Bauer.

VI.15.1 Pompeii. Old postcard, looking north-west across peristyle from east portico. Photo courtesy of Rick Bauer.

VI.15.1 Pompeii. Old photograph by Sommer, no 3026.
Looking north-west across peristyle from east portico. Photo courtesy of Rick Bauer.

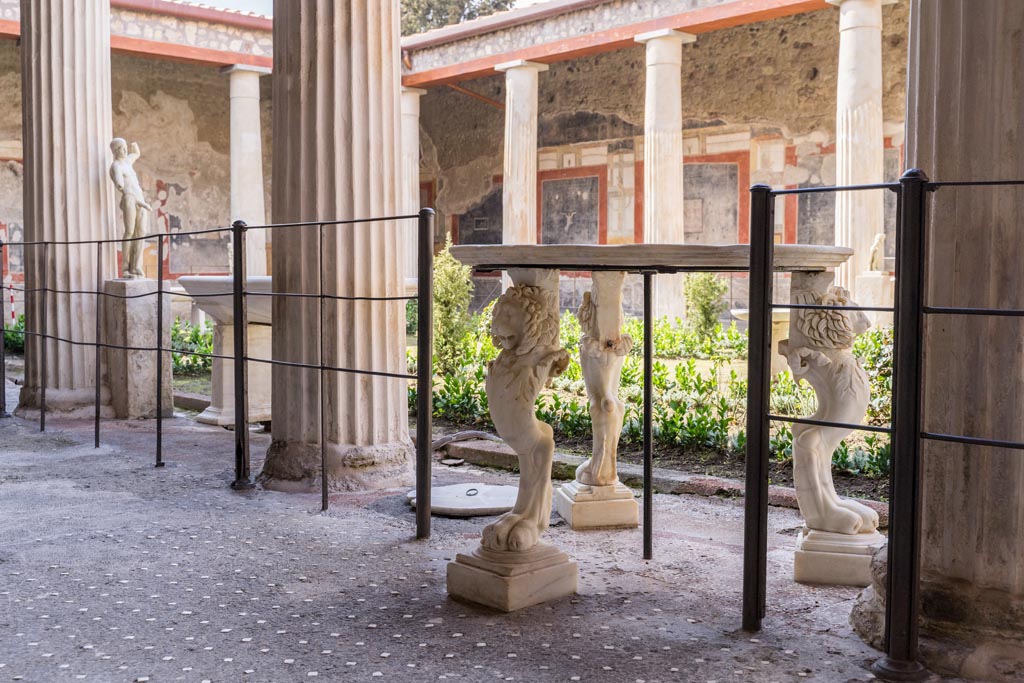
VI.15.1 Pompeii. March 2023.
Table with three lion legs in peristyle, looking south-west from east portico. Photo courtesy of Johannes Eber.
VI.15.1 Pompeii. May 2001.
Table with three lion legs in peristyle, looking west from east portico. Photograph courtesy of Current Archaeology.

VI.15.1 Pompeii. March 2023. Looking south-west from east portico. Photo courtesy of Johannes Eber.

VI.15.1 Pompeii, 1978. Looking south along east portico. Photo by Stanley A. Jashemski.
Source: The Wilhelmina and Stanley A. Jashemski archive in the University of Maryland Library, Special Collections (See collection page) and made available under the Creative Commons Attribution-Non-Commercial License v.4. See Licence and use details.
J78f0242

VI.15.1 Pompeii. 1968.
Looking south-east across garden towards table with three lion legs. Photo by Stanley A. Jashemski.
Source: The Wilhelmina and Stanley A. Jashemski archive in the University of Maryland Library, Special Collections (See collection page) and made available under the Creative Commons Attribution-Non-Commercial License v.4. See Licence and use details.
J68f2053
VI.15.1 Pompeii. 1945. Looking towards east portico of peristyle. Photo courtesy of Rick Bauer.

VI.15.1 Pompeii. April 2023.
Looking north-east across peristyle towards doorway to atrium, centre right. Photo courtesy of Giuseppe Ciaramella.

VI.15.1 Pompeii, 1968.
Looking east across peristyle with fountain, across portico towards doorway to atrium. Photo by Stanley A. Jashemski.
Source: The Wilhelmina and Stanley A. Jashemski archive in the University of Maryland Library, Special Collections (See collection page) and made available under the Creative Commons Attribution-Non-Commercial License v.4. See Licence and use details.
J68f0095

VI.15.1 Pompeii, 29th March 1922.
Looking north-east across peristyle towards north side of atrium area. Photo courtesy of Rick Bauer.

VI.15.1 Pompeii. August 27, 1904.
Looking north-east across peristyle towards north side of unroofed atrium. Photo courtesy of Rick Bauer.
VI.15.1 Pompeii. August 27, 1904.
Looking south-east across peristyle towards south side of unroofed atrium. Photo courtesy of Rick Bauer.
VI.15.1 Pompeii. April 1903.
Looking east across garden area towards atrium, without a roof. Photo courtesy of Rick Bauer.

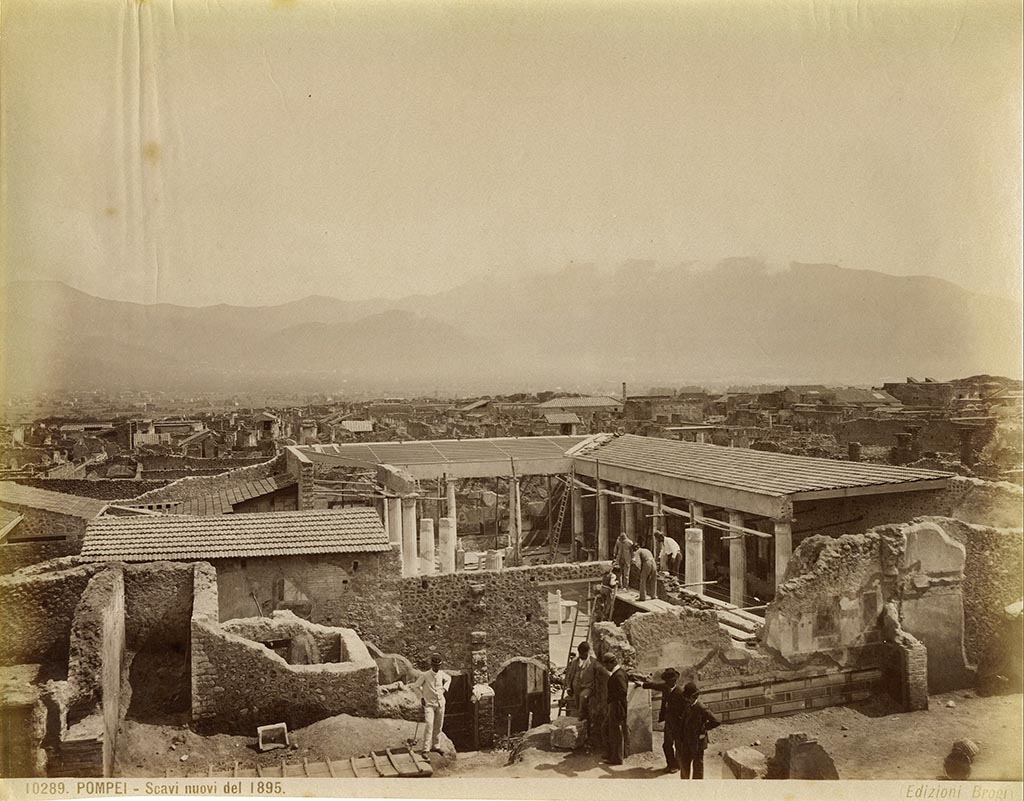
VI.15.1 and 2 Pompeii. Old photograph by Brogi,
no.10289 entitled Pompei - Scavi nuovi del 1895.
Looking south towards the north wall of VI.15.1 being excavated, taken from the area of VI.15.2.
In the centre of the photo is the south wall of the small peristyle “s”.
On the right the decoration, now lost, of the upper floor of VI.15.2 can be seen. Photo courtesy of Rick Bauer.

VI.15.1 and 2 Pompeii. 1978. Looking north from VI.15.1 towards upper floor and VI.15.2. Photo by Stanley A. Jashemski.
Source: The Wilhelmina and Stanley A. Jashemski archive in the University of Maryland Library, Special Collections (See collection page) and made available under the Creative Commons Attribution-Non-Commercial License v.4. See Licence and use details.
J78f0241
Part 1 Part 2 Part 3 VI.15.1 Plan